
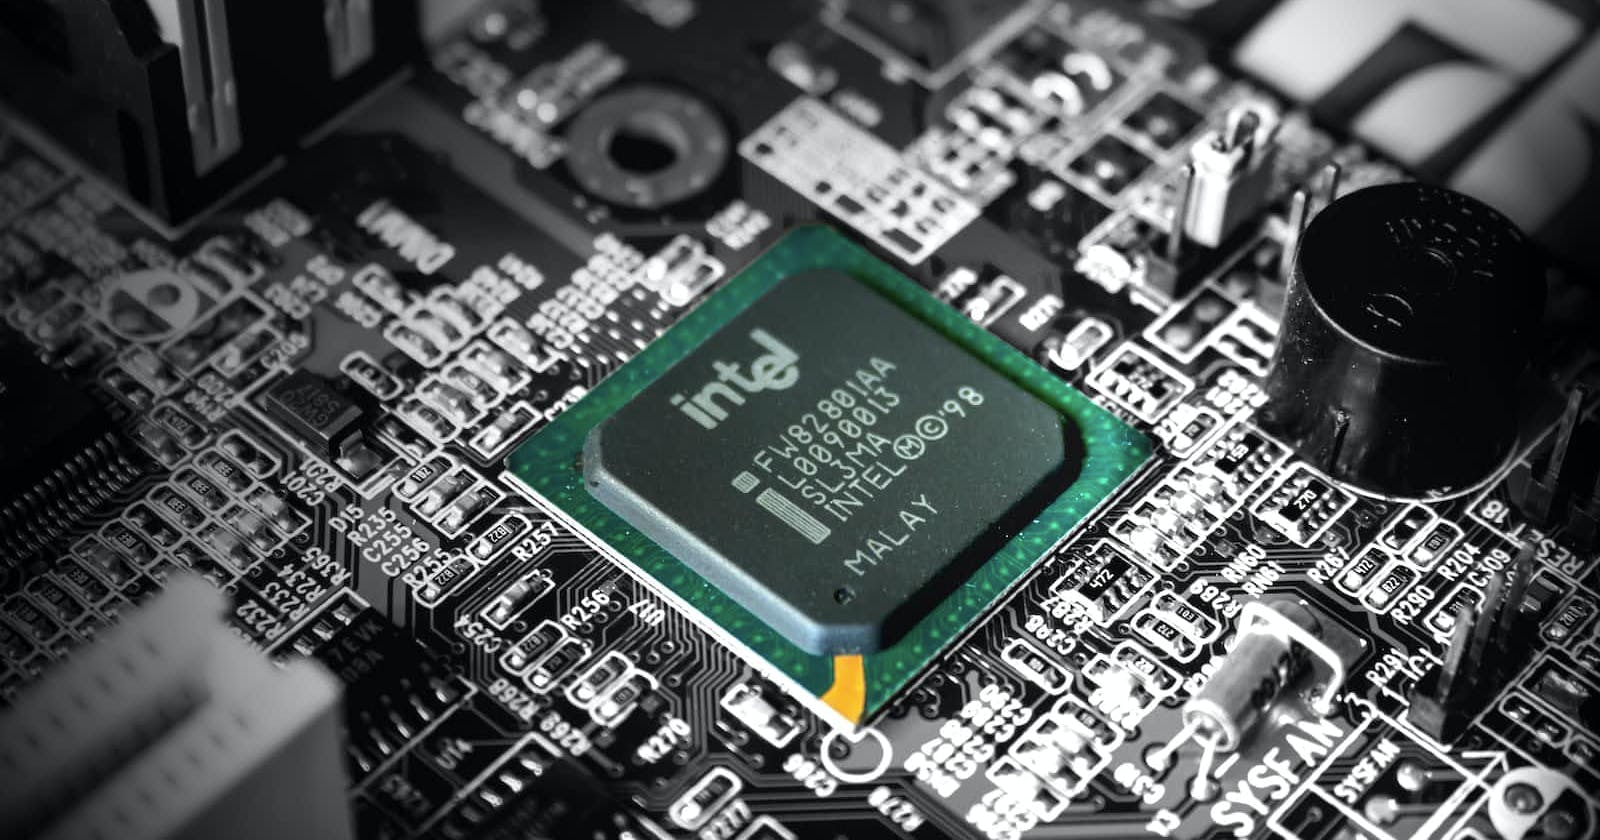

Photo by Slejven Djurakovic on Unsplash
The 90s Developer Starter Pack
Experiencing Windows 95 Exploration Box Installation Like People In Early 90s.


I recently found a 386 emulator called 86Box, a fork of the earlier version of PCEm. Because I'm a real programmer™, I build the master branch from its Git source on a macOS Ventura. How I build it from sources will be the subject of a new article.
Building The Hardware Specifications
86Box supports a breadth of selection of combinations of PC hardware components in the 90s. A real gold mine for a person like me who lives in a developing country with restricted access to old hardware. I set a goal to replicate the experience of installing a fresh Windows 95 PC from hardware available around 1990-1995. I'll limit it to something typical for developers on 95s to run on their medium-powered PC, which may have a few esoteric components. I remember my late father having AMD Am486 with 8MB of RAM. So I'll use that as a frame of reference. Also, I've found an article about buyers' guides from the Chicago Tribune explaining the spec for the holiday season in 1995.
After mucking around the settings, these are the components that I decided to have.
CPU
I'll go with AMD Am486DX4 with 100 MHz Speed with PGA 168 socket. This is how it originally looked like
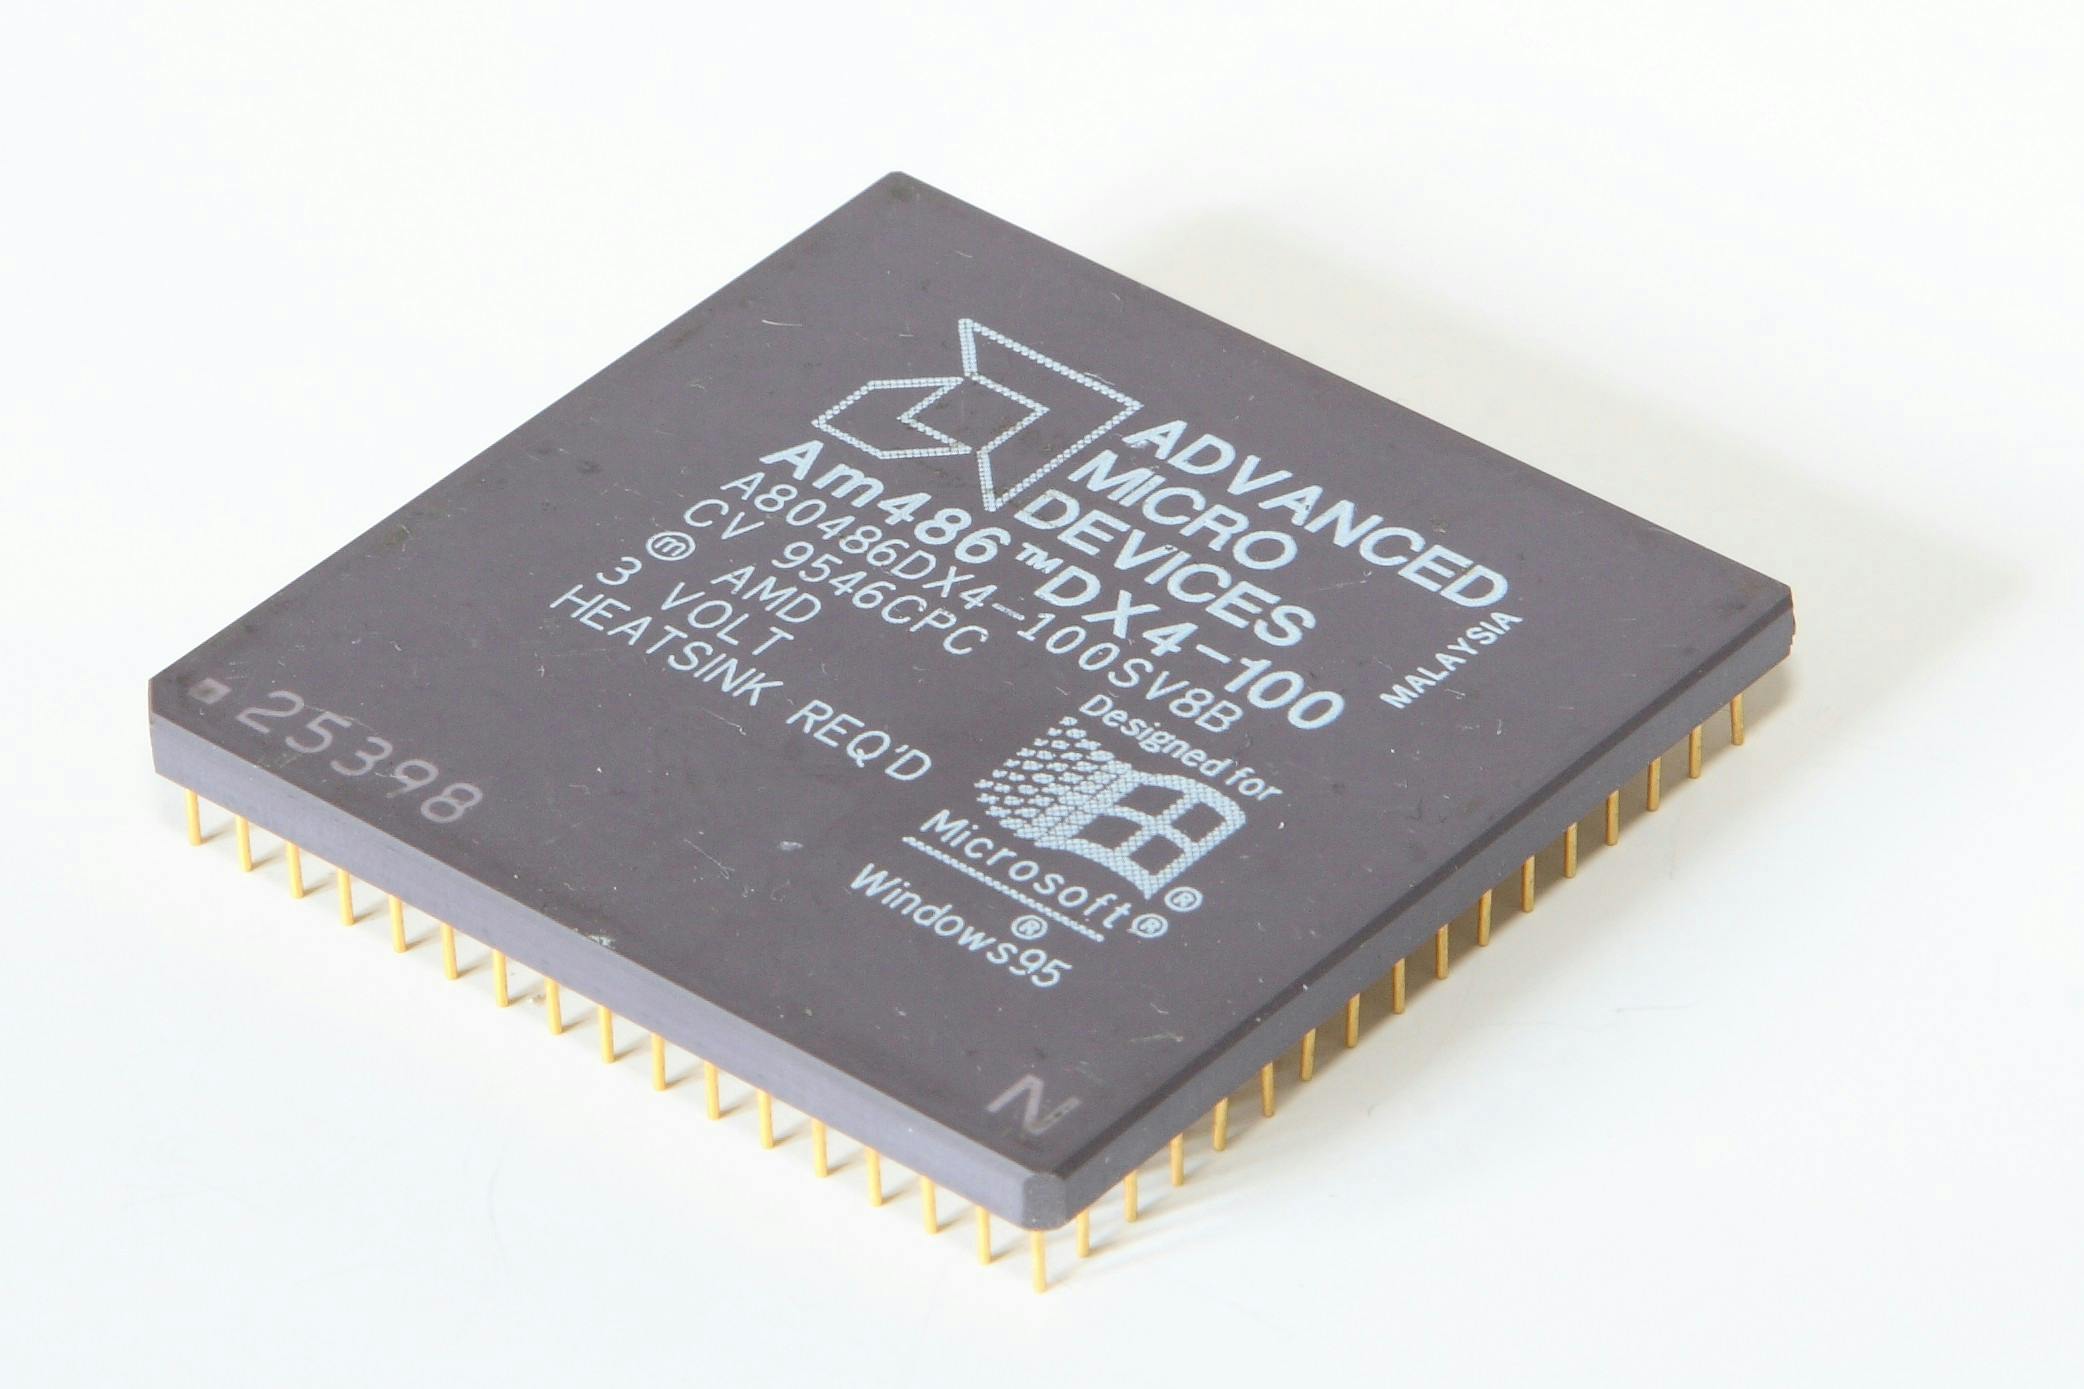
There's "Designed for Windows 95" imprinted on the chip itself. We're going to a good start. This chip is Intel 486 compatible. I didn't go to Pentium or Pentium Pro because I wanted pure, unextended, intel 486 instruction sets with no Pentium Pro extensions like CMOVNS, which I've written about in my previous posts.
Motherboard
ASUS PVI-486SP3C with SiS 496 as the Chipset. Without further ADO, please look at this beauty.
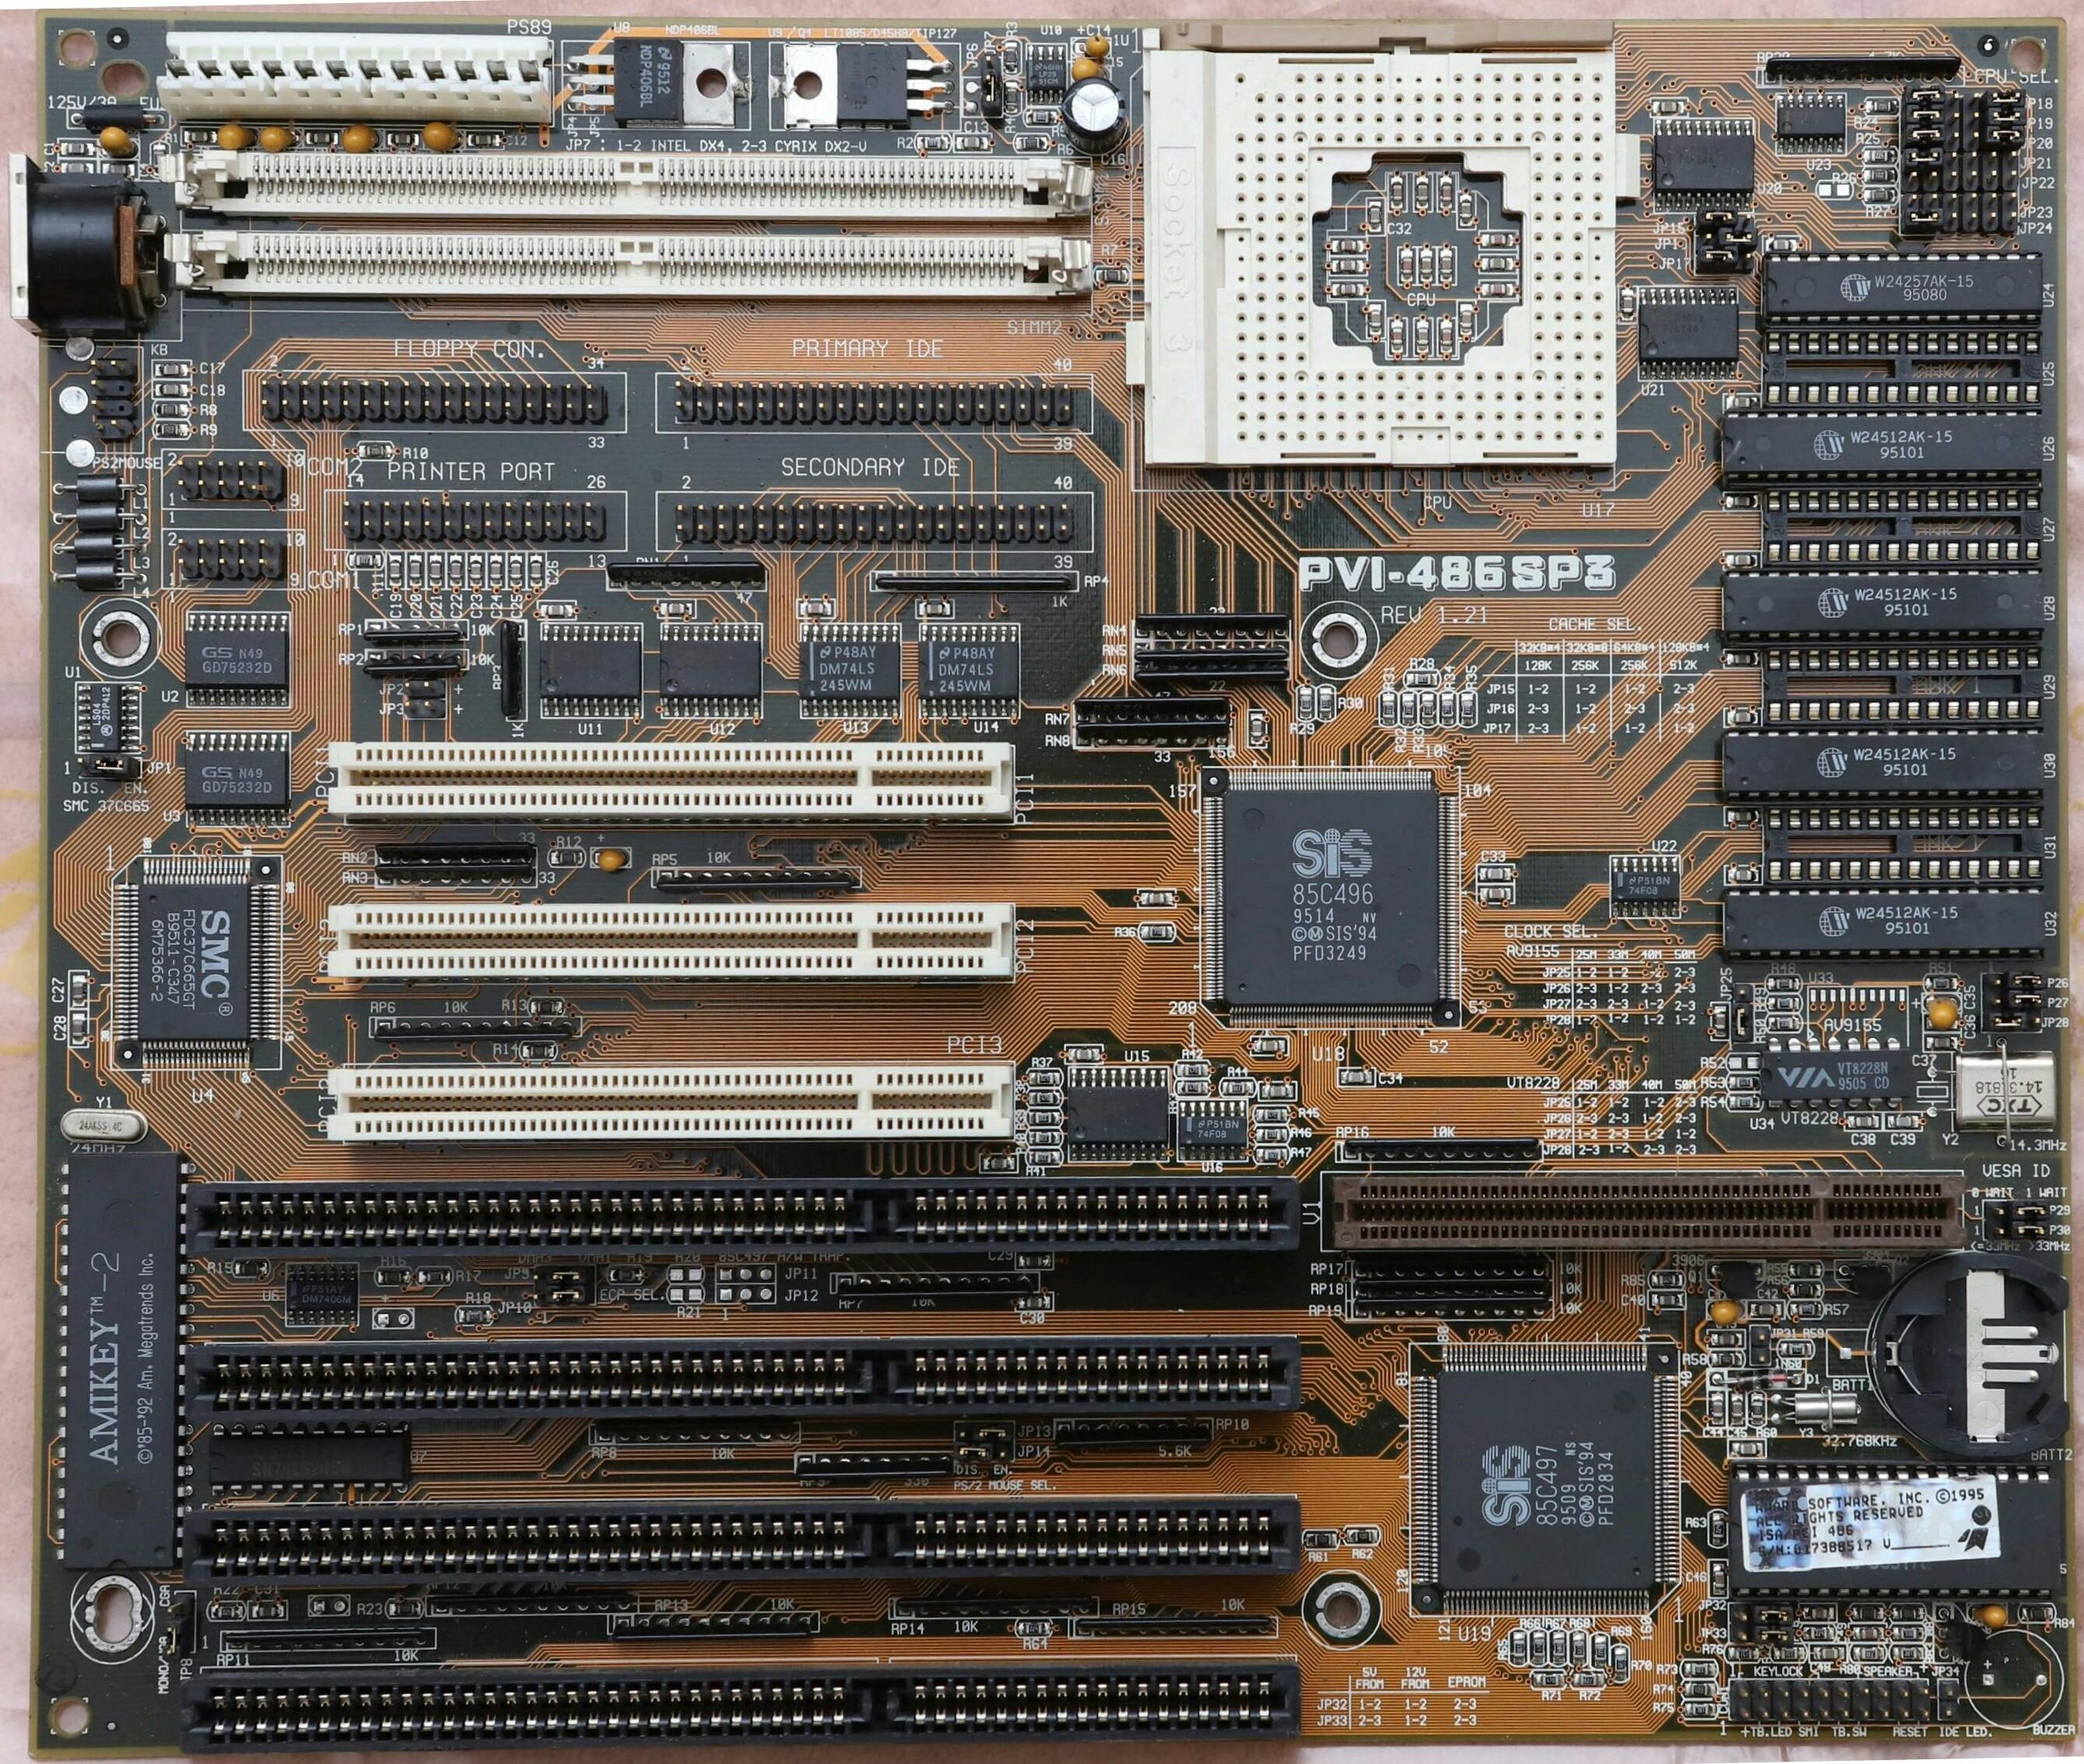
As depicted in the picture above, this motherboard featured a PGA168 socket. With both SIS 496 as the Northbridge chip and SIS 497 as the Southbridge chip. This features these I/O:
- Dual-channel IDE.
- 1 Floppy Disk Interface.
- 3 PIC slots.
- 4 ISA slots, with one of them being a VLB slot (that extension is not an AGP slot, it didn't exist back then)
- One parallel, two serial ports, and 1 PS/2 port.
RAM and Disks
There are two EDO-RAM over there, which I'll fill with a whopping 16 MB of RAM, which is 4 times the minimum requirement for Windows 95. As for disk, we'll fill all floppy disk controllers with 2.88 MB Drives. On the IDE slot, we'll put a 2GB disk drive.
We'll utilise ZIP drives and CD-ROM. I'll not use IDE for these. Like a grown-up, let's use SCSI for both ZIP and CD ROM drives.
Components and Accessories
I'll start with the graphics card. Because we were in 1994, and we have a VLB slot, let's use that. We're going to use the S3 Vision964 VLB Version.
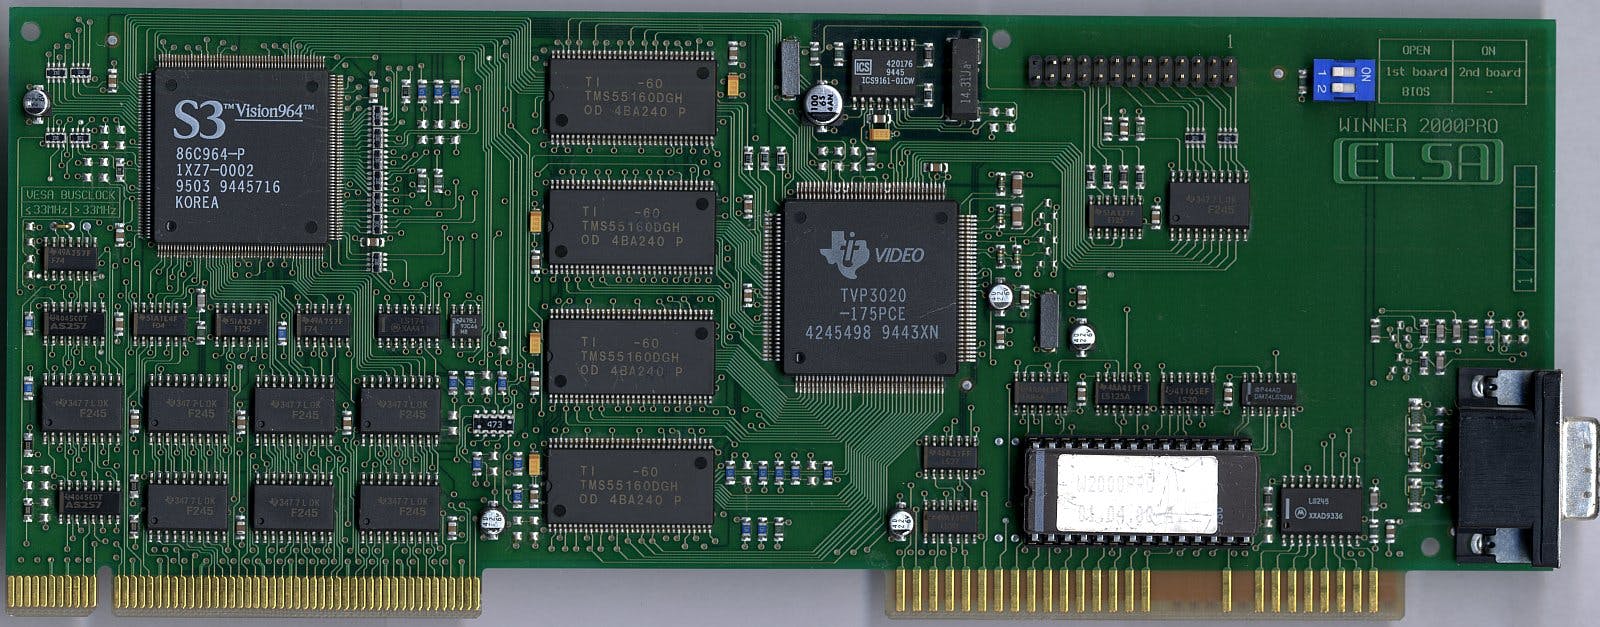
This card is an accelerated card which allows us to decode MPEG-1 without any additional accelerator cards.
The next obvious accessory is the sound card. We're not going crazy this time. Let's use good ol' Sound Blaster 16-bit and fill one more of our ISA slots.

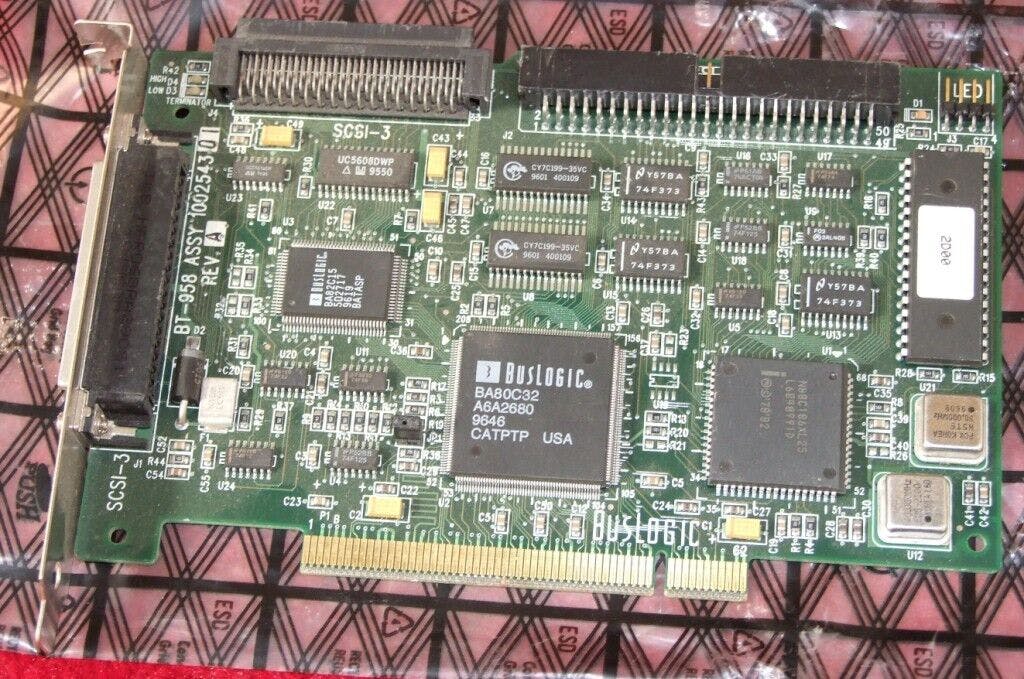
As we're going to use SCSI, we're going to use BusLogic PCI BT-958D for our SCSI controller, which will drive both ZIP Drive and CD ROM drives.
Operating Systems and Software Installations
Prerequisite: Microsoft DOS 6.22
Most of the motherboard is not ready for booting from CDs, let alone SCSI. So, unlike Windows 98. To install Windows 95, you'd need Microsoft DOS 6.22. We're going to install it, and for me, I'll also enable the Dvorak keyboard. I'll gloss over this process as you might already know how to install them from diskettes. After installing MSDOS, you'll be greeted with the typical C-prompt C:\. I usually install the supplemental disk to be able to use Dvorak as my keyboard and add this line to AUTOEXEC.BAT file.
REM Use Dvorak Keyboard
KEYB DV,,C:\DOS\DVORAK.SYS
We'd need to access our CDROM, which is attached to a SCSI card. For this we'll use the driver from BusLogic and Microsoft MSCDEX. You can find the file on the net. The name are btdosm.sys btcdrom.sys and mscdex.exe. To access the drive, we'll need to load them on our CONFIG.SYS file.
DEVICE=BTDOSM.SYS
DEVICE=BTCDROM.SYS /D:RETROCD
And then add this line to AUTOEXEC.BAT
REM Mount CD ROM
MSCDEX.EXE /D:RETROCD
Reboot, and now you can access your D drive from DOS command prompt.
Install Windows 95 OSR 2.5
Mount your Windows 95 on the CD Drive and then go to drive D.
C:\> D:
D:\> SETUP
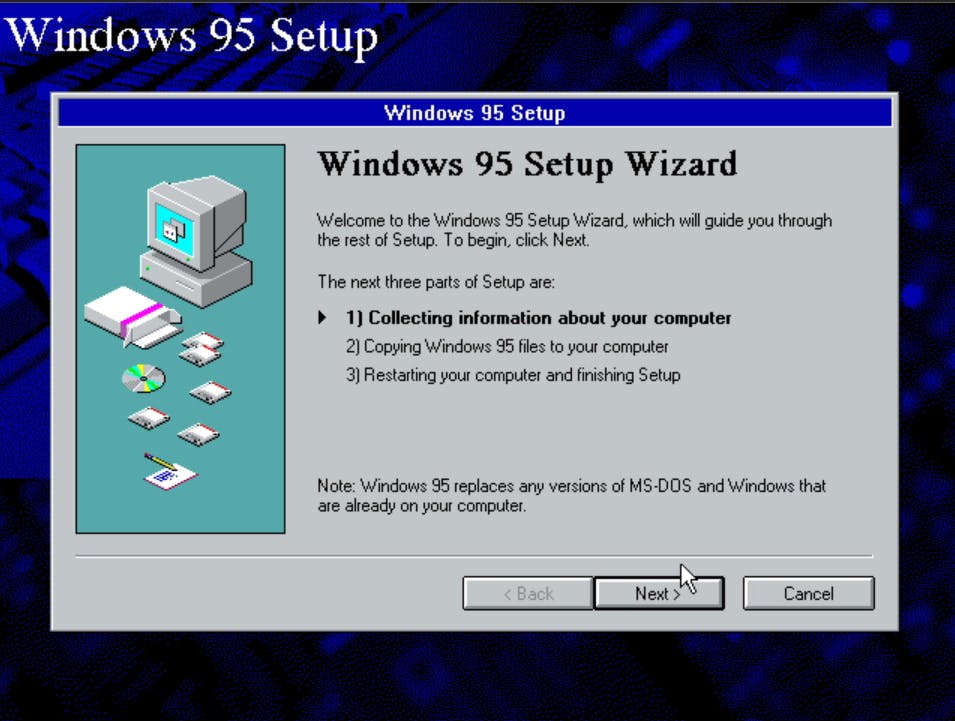
Follow the setup instructions, and you'll end up with a desktop. Right-click on the My Computer section and select Properties. You'll end up with something like this.
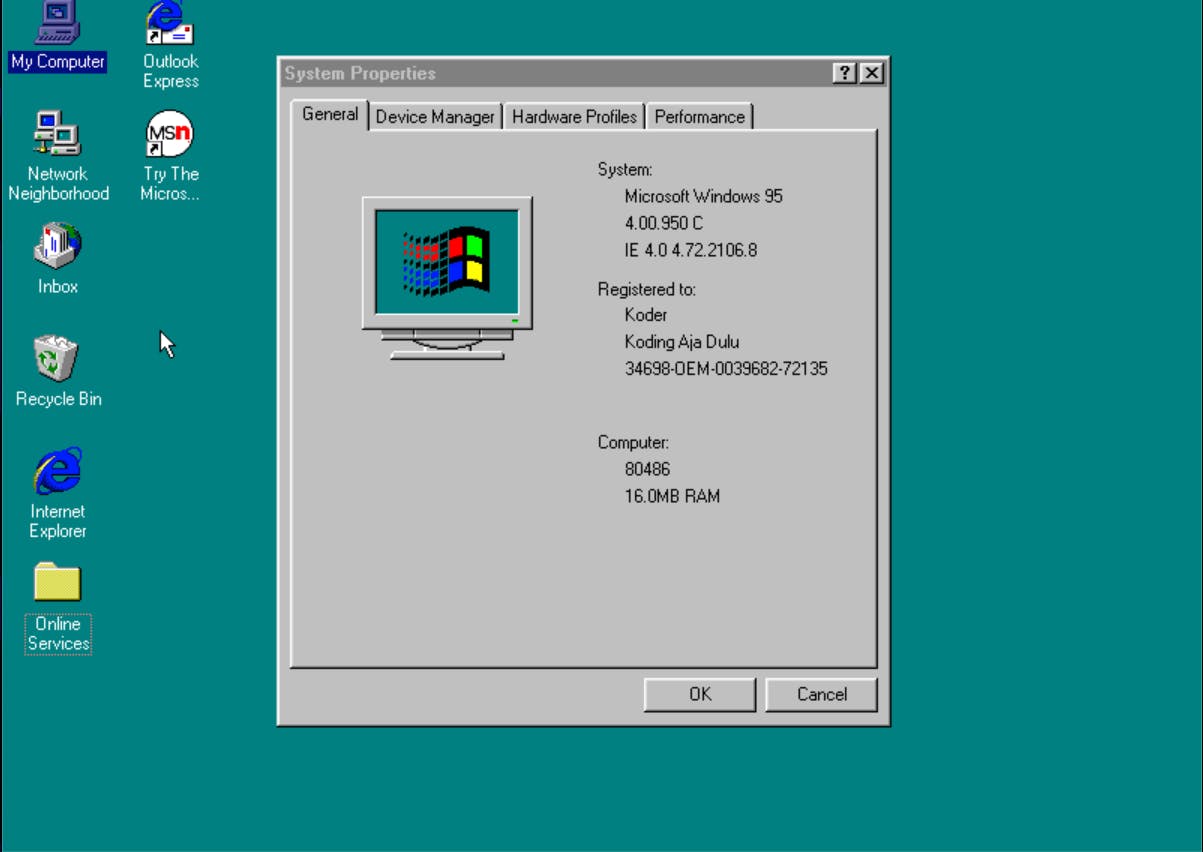
Look at that 16 MB RAM and a proud 80486 owner with all the bells and whistles. Now time to install our development tool of choice.
Development Tools
We're "real programmers", so we're not gonna use peasants' tools like Visual Basic. No, no siree... We are going to use a real programming language like C++. So prepare your Visual Studio Enterprise 97 disks and install Visual C++.
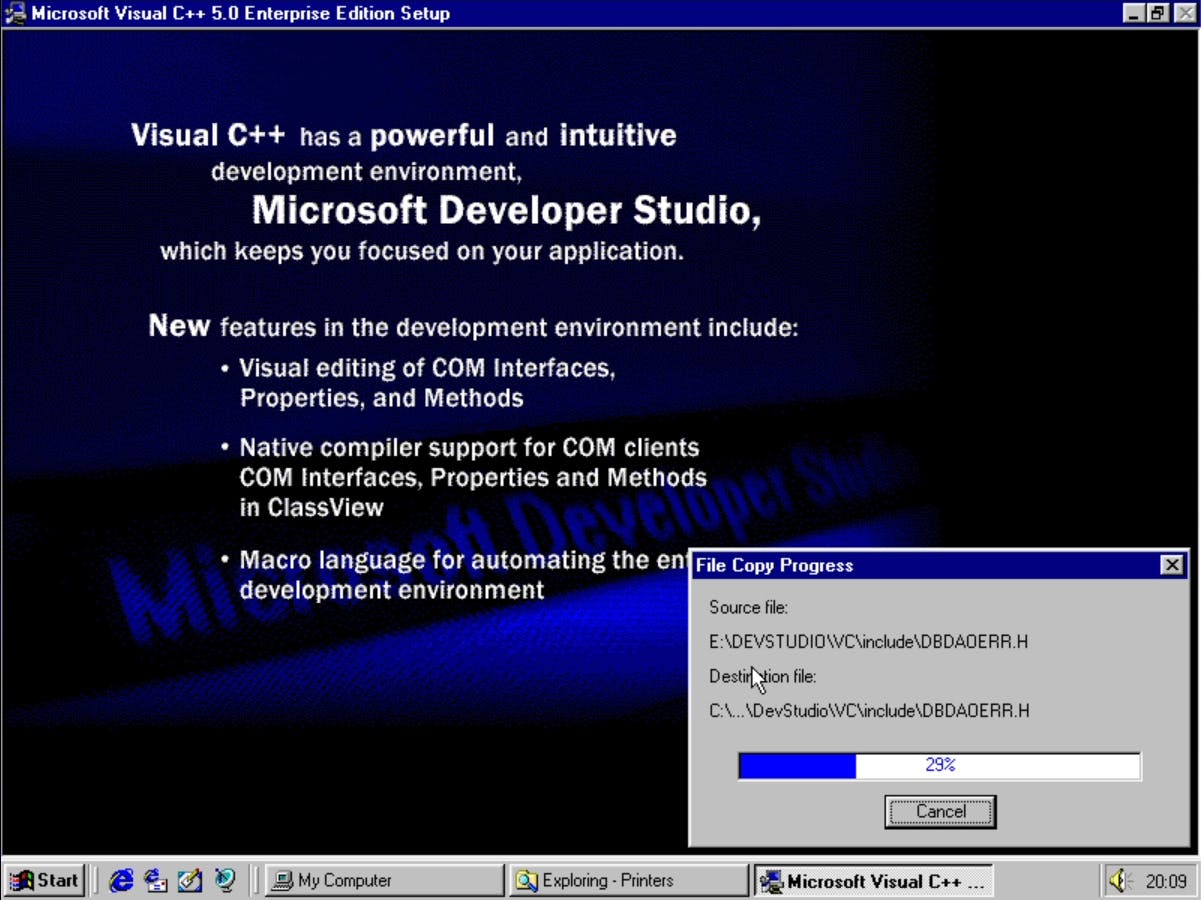 .
.
Look at that! What an amazing compiler supporting COM, and it supports creating COM clients and interfaces, exciting time to code in 1994.
If you are clueless enough, you can also install the MSDN for Visual Studio 97 if you can get the CD image from the internet. However, our next step is very simple. We won't need to use that.
Coding
So we have our money-making machine being set up. The next step is to write a program for the 90s. Let's give ourselves a treat of being beginners again and see what we can achieve using a 30-years-old platform with machine 1/1000 times less powerful than our typical phone in 2022.
Let's fire up the IDE and enjoy the developer tools created by Microsoft in the early 90s.
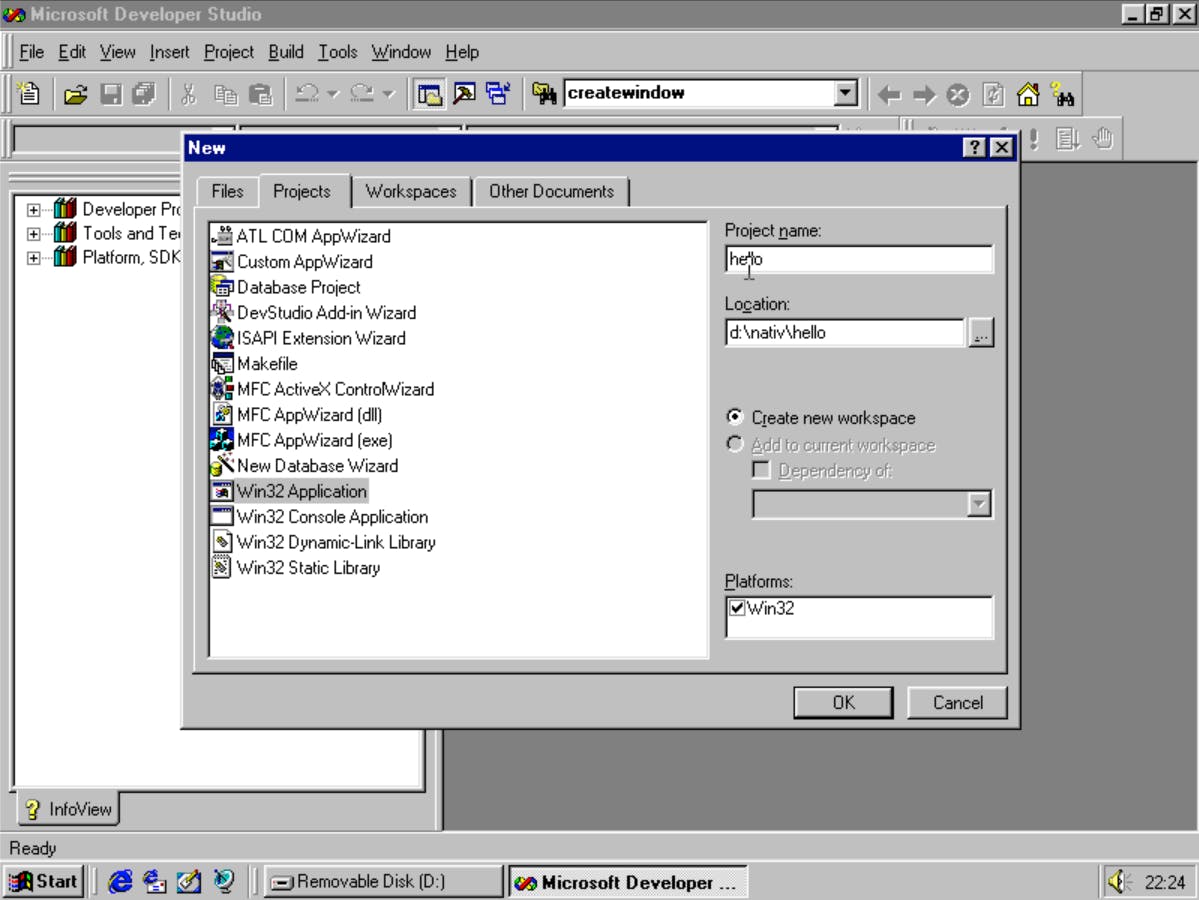
Proceed by selecting "Win32 Application" and then choose "Empty Project". You'll be greeted with an empty project. Add new files named main.cpp to the files section and let's start by building a GUI program which will show you a "Hello, Welcome to Windows95" message box.
Entry Point
A win32 project entry point is not main but WinMain. A minimal program which will start and do absolutely nothing will be as follows.
#include <Windows.h>

int APIENTRY WinMain(HINSTANCE hInstance, HINSTANCE hPrevInstance,
                     LPSTR lpCmdLine, int nCmdShow)
{
  return 0;
}
Although the program does absolutely nothing, it'll just start and immediately exit, the function signature is a mouthful and verbose. Not all of these parameters are important or even usable. This is the quirk of Windows programming as Microsoft needs to maintain the API signature for backward compatibility.
- Including the
Windows.hheader is mandatory for all Windows programs written this way. - The
WinMainfunction needs to return anint. If there's no Windows Message Pump defined, return0on exist. We'll talk about Windows Message Pump in another post. APIENTRYis an alias to stdcall calling convention, which means the function itself will clean the stack.HINSTANCEis a "handle" to an application instance. A handle is an opaque value for an object within Windows operating system. Both first parameters are purely for backward compatibility. The firstHINSTANCEis always pegged to0x04, and the second is always0x00on 32-bit protected mode Windows.lpCmdLineis the command line to invoke the program. We can use this parameter to parse the command line and its arguments when it's invoked from the command line.nCmdShowis the value which tell the window, if the Window will be shown minimised, maximised, or hidden.
Try to build the application, and you'll see.. nothing. Building only validates that our syntax is correct. The message on the build window will show something like this.

Our first Windows API
When we started with something new, we started with "Hello, World!" program. This can be accomplished in Win32 API by calling MessageBox function. The function prototype is very simple.
int MessageBox(HWND hWnd, LPSTR lpText, LPSTR lpCaption, UINT uType);
The meaning of each of the parameter are:
hWndis the parent window of the message box window being displayed. Passing0means that the message box parent will be the Desktop.lpTextis a zero-terminated string containing the message to be displayed.lpCaptionis the caption of the message box.uTypeis the message box type. There are several values that you can use. The value is a bit flag. We'll useMB_OK | MB_ICONINFORMATIONwhich means that we'll only show the OK button and an information icon.
The full program to be run is as below:
#include <Windows.h>

int APIENTRY WinMain(HINSTANCE hInstance, HINSTANCE hPrevInstance,
                     LPSTR lpCmdLine, int nCmdShow)
{
  MessageBox(NULL, "Hello, Welcome to Win32 Programming",
      "Hello, World", MB_OK | MB_ICONINFORMATION);
  return 0;
}
And the program will show a nice message box.
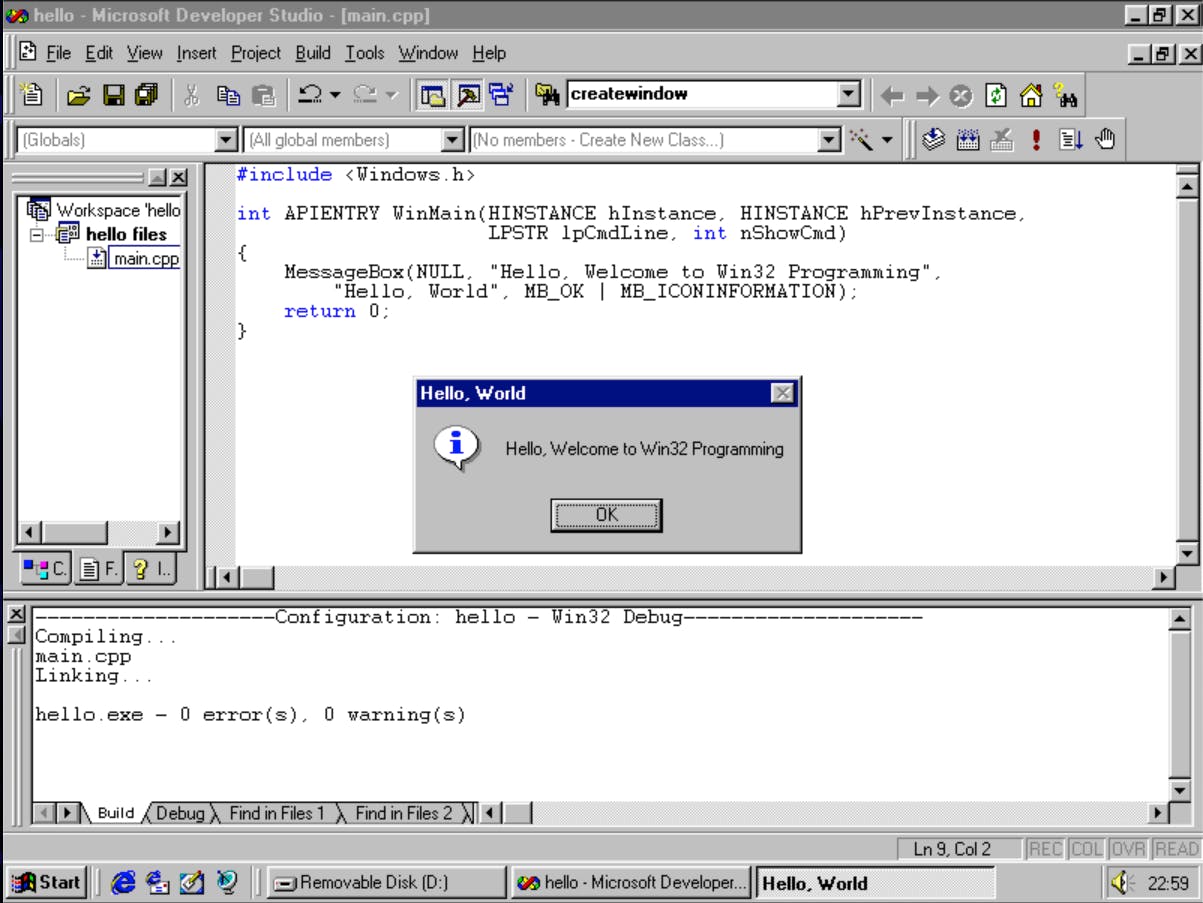
That's it! Our first GUI program using Win32 API running on typical early 90s workstation running on Windows 95. There will be more which we'll explore on next articles. Including on how to create a window and draw something there.
If you curious, you can build the executable to an .exe and then try to run it on modern Windows operating system like Windows 11. You'll surprise that the program still run perfectly fine.
Conclusion
Windows 95 is the first full 32-bit Windows that's built by Microsoft. It's a break from previous generations of Windows which brings 32-bit programming to consumer which previously was only available on Windows NT. Programming C/C++ in Windows differs with typical console-based C/C++ applications. For example, the entry point of Win32 program is WinMain and not main. In the future article we'll explore more about Window 95 and Win32 API.